6. App
Bringing everything together, we'll now write the App component in App.tsx.
RenJS
Firstly, we'll want to initialize RenJS and the chains that we'll be using.
We'll initialize the Ethereum class with a public JSON-RPC endpoint, but we won't pass it a signer yet, since we do that in CreateGateway.tsx.
Replace the existing code in the App component with the following (useStates are used for compactness - replace with useRefs if required):
loading...
and update the imports:
loading...
Next, we want to store the list of all Gateway Transactions we've seen so far:
loading...
When a new gateway is created, we want to store it and listen for new Gateway Transactions:
loading...
The return statement of App will now link the gateway and gatewayTxs states with the components we made in the previous sections.
Firstly, CreateGateway:
loading...
And finally, we loop through gatewayTxs and show a GatewayTx for each transaction:
loading...
Click to see full code for App.tsx
loading...
That's the last component - you can now run the site in your browser to test it out.
Make sure you have a Web3 wallet installed (such as MetaMask), and connect it to the right network (Görli for Ethereum testnet).
You will need testnet BTC and Görli ETH, which can be found here:
caution
This tutorial does not cover all the required information to write a production RenJS integration.
Continue reading through the docs to learn about:
- Setup transactions
- Persistent storage and resuming gateways
- Gateway expiry
Screenshots
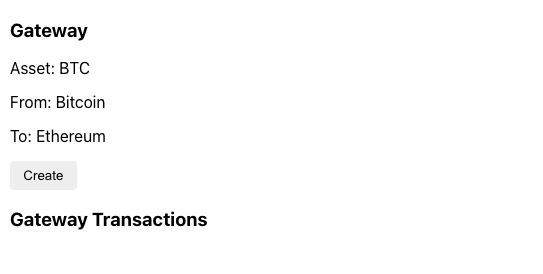
Creating a gateway:

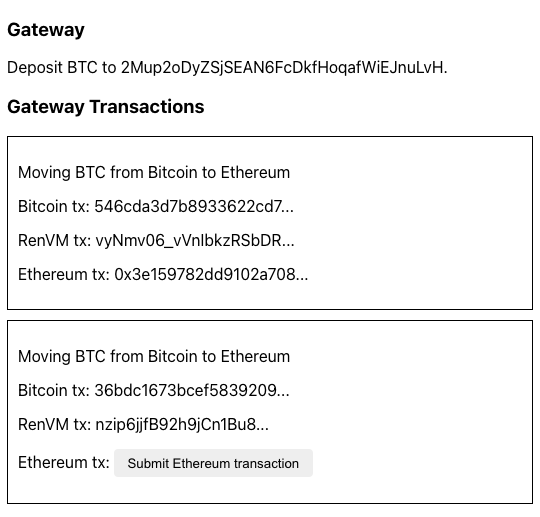
Gateway transactions:
